How to Winterize Your Outdoor Shower in NJ
If you own a shore house in New Jersey, one of the most important things you can do before the cold season is properly winterize your outdoor shower. A missed step — or a missed season — can mean burst pipes, water damage, and hundreds to thousands of dollars in repairs come spring.
We've winterized outdoor showers from Cape May to Long Beach Island for over a decade. Here's exactly what proper winterization looks like, and why it matters on the Jersey Shore specifically.
Why the Jersey Shore Is Especially Risky
Water expands when it freezes. Any water left sitting in your outdoor shower's supply lines, valves, or fixture bodies will freeze during a hard frost — and when it expands, it splits pipes, cracks valve bodies, and destroys fixture cartridges. Jersey Shore temperatures regularly drop below freezing from November through March, and most shore properties sit unoccupied during those months. That means nobody is there to notice a problem until you arrive in May to find your shower has been leaking since Thanksgiving.
The good news: proper winterization completely eliminates this risk. It takes about an hour when done correctly, and it protects an investment that can cost $3,000–$15,000 to replace.
Step-by-Step: How to Winterize Your Outdoor Shower
Step 1: Shut Off the Water Supply
Locate the shutoff valve that feeds your outdoor shower. This is typically inside the house — often in the basement, crawlspace, or utility area near the exterior wall where the line exits. Turn it fully off. If you don't know where your shutoff is, this is the time to find it before winter — not after a freeze event.
Step 2: Open All Fixtures to Relieve Pressure
Go back to the shower and open the hot and cold handles fully. This relieves line pressure and allows water to begin draining from the supply lines. Leave them open while you complete the next steps.
Step 3: Blow Out the Lines
This is the most important step, and the one most DIYers skip or do incorrectly. You need to physically remove all water from the supply lines — not just drain what gravity will pull. Use a compressor with an air blow-out adapter to push air through the supply line from the shutoff point outward through the open fixtures. Run the compressor until no water mist comes out — only air. This takes 1–3 minutes per line depending on line length and remaining water.
If you don't have a compressor, a wet-dry vacuum can pull water back from the open fixture end. It's less effective but better than nothing.
Step 4: Disconnect and Cap the Supply Connections
For maximum protection, disconnect the supply lines at the shower fixture and cap the stub-outs with threaded caps or plugs. This prevents any residual moisture from sitting in the fitting and also protects the fixture threads over winter.
Step 5: Winterize the Fixture Body
Many outdoor shower valves and diverters have small internal chambers that trap water even after blowing out the lines. For single-handle pressure-balancing valves, remove the handle and cartridge, dry the valve body interior with compressed air, and replace the cartridge before storing or leaving in place. For simpler hot/cold stem setups, opening both handles fully and leaving them open allows residual moisture to evaporate.
Step 6: Plug the Drain
Insert a drain plug or cover the shower drain to prevent critters from entering through the drain pipe over the off-season. Shore environments mean field mice, insects, and other pests actively seek shelter in fall — the drain is an easy entry point.
Step 7: Inspect and Secure the Enclosure
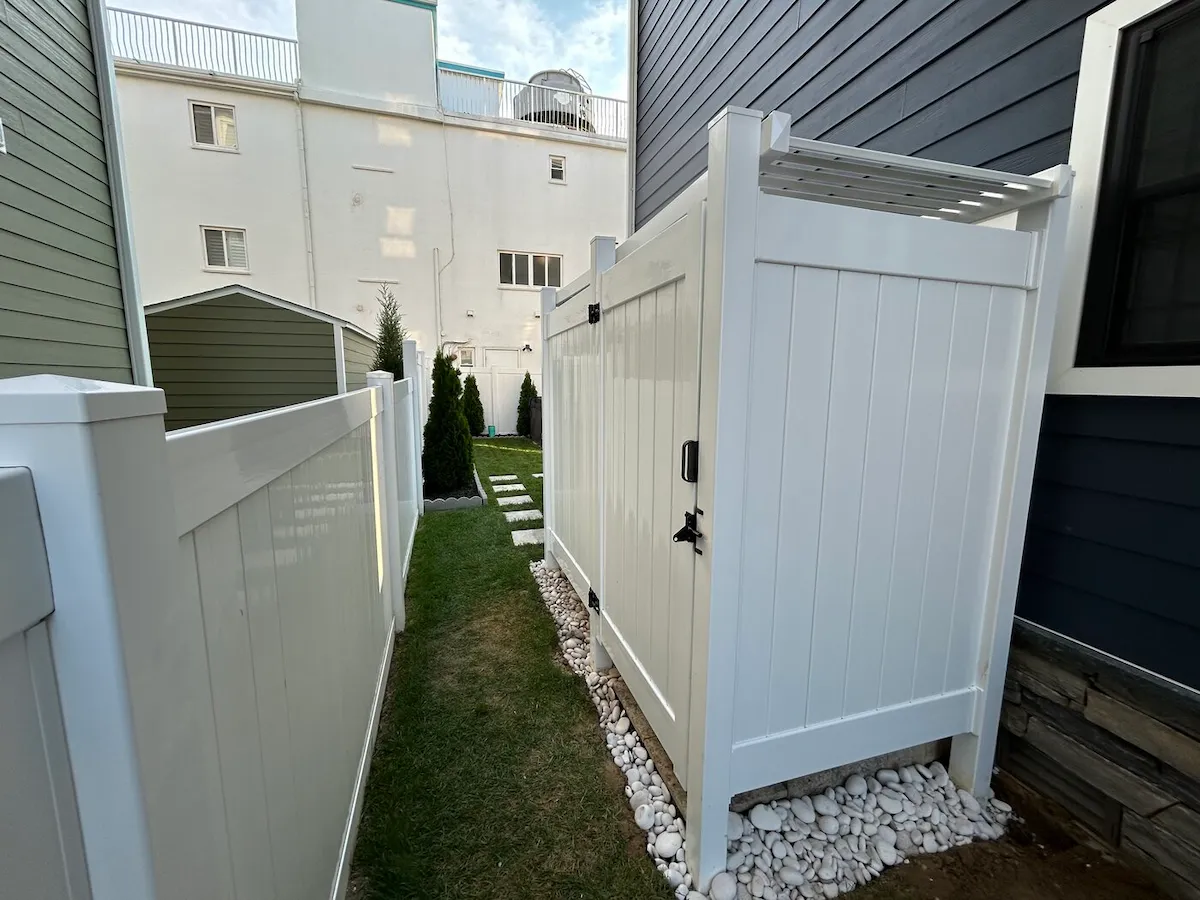
Walk around the enclosure. Check that doors are latched and secure. If your enclosure has a louvered roof, check that louvers are in the open position (to prevent ice buildup and allow snow to fall through). Look for any cracked caulk or open seams that need addressing before spring. Take photos — it's a great baseline for your opening inspection.
Step 8: Cover or Store Accessories
Remove and store any teak shower mats, benches, or accessories indoors. Even high-quality teak benefits from being kept out of prolonged freeze-thaw exposure. Bring in any hanging hardware like hooks or caddies that could rust or corrode.
When Should You Winterize?
The answer on the Jersey Shore is: before your first hard frost. That typically means sometime in October or early November depending on the year. We recommend the window between Columbus Day weekend and Halloween as the target — most families have made their last shore visit, and temperatures are still mild enough to work comfortably.
Don't wait until Thanksgiving. Overnight lows in late October can already dip below 32°F in Cape May County and Atlantic County, and a single hard freeze is all it takes.
Can You Winterize It Yourself?
Yes — if you have a compressor, know where your shutoff is, and are comfortable with basic plumbing. Many experienced shore homeowners handle their own winterization successfully every year.
Where people get into trouble: not blowing out the lines completely, not knowing there's a secondary shutoff, or having an older system where the valve locations aren't obvious. If you're not confident, it's worth having a professional do it — the cost is minimal compared to the risk.
Our Seasonal Closing Program
Coastal Shower Pros offers a fall winterization service that handles everything above in one visit. We also offer a Full-Season Package that bundles spring opening and fall closing at a discounted combined rate — ideal for second-home owners who want it handled without thinking about it.
Learn more about our Maintenance Programs →
Need Winterization Help?
We serve Cape May County, Atlantic County, and Ocean County. Schedule your fall closing before we fill up.
Schedule Your Closing